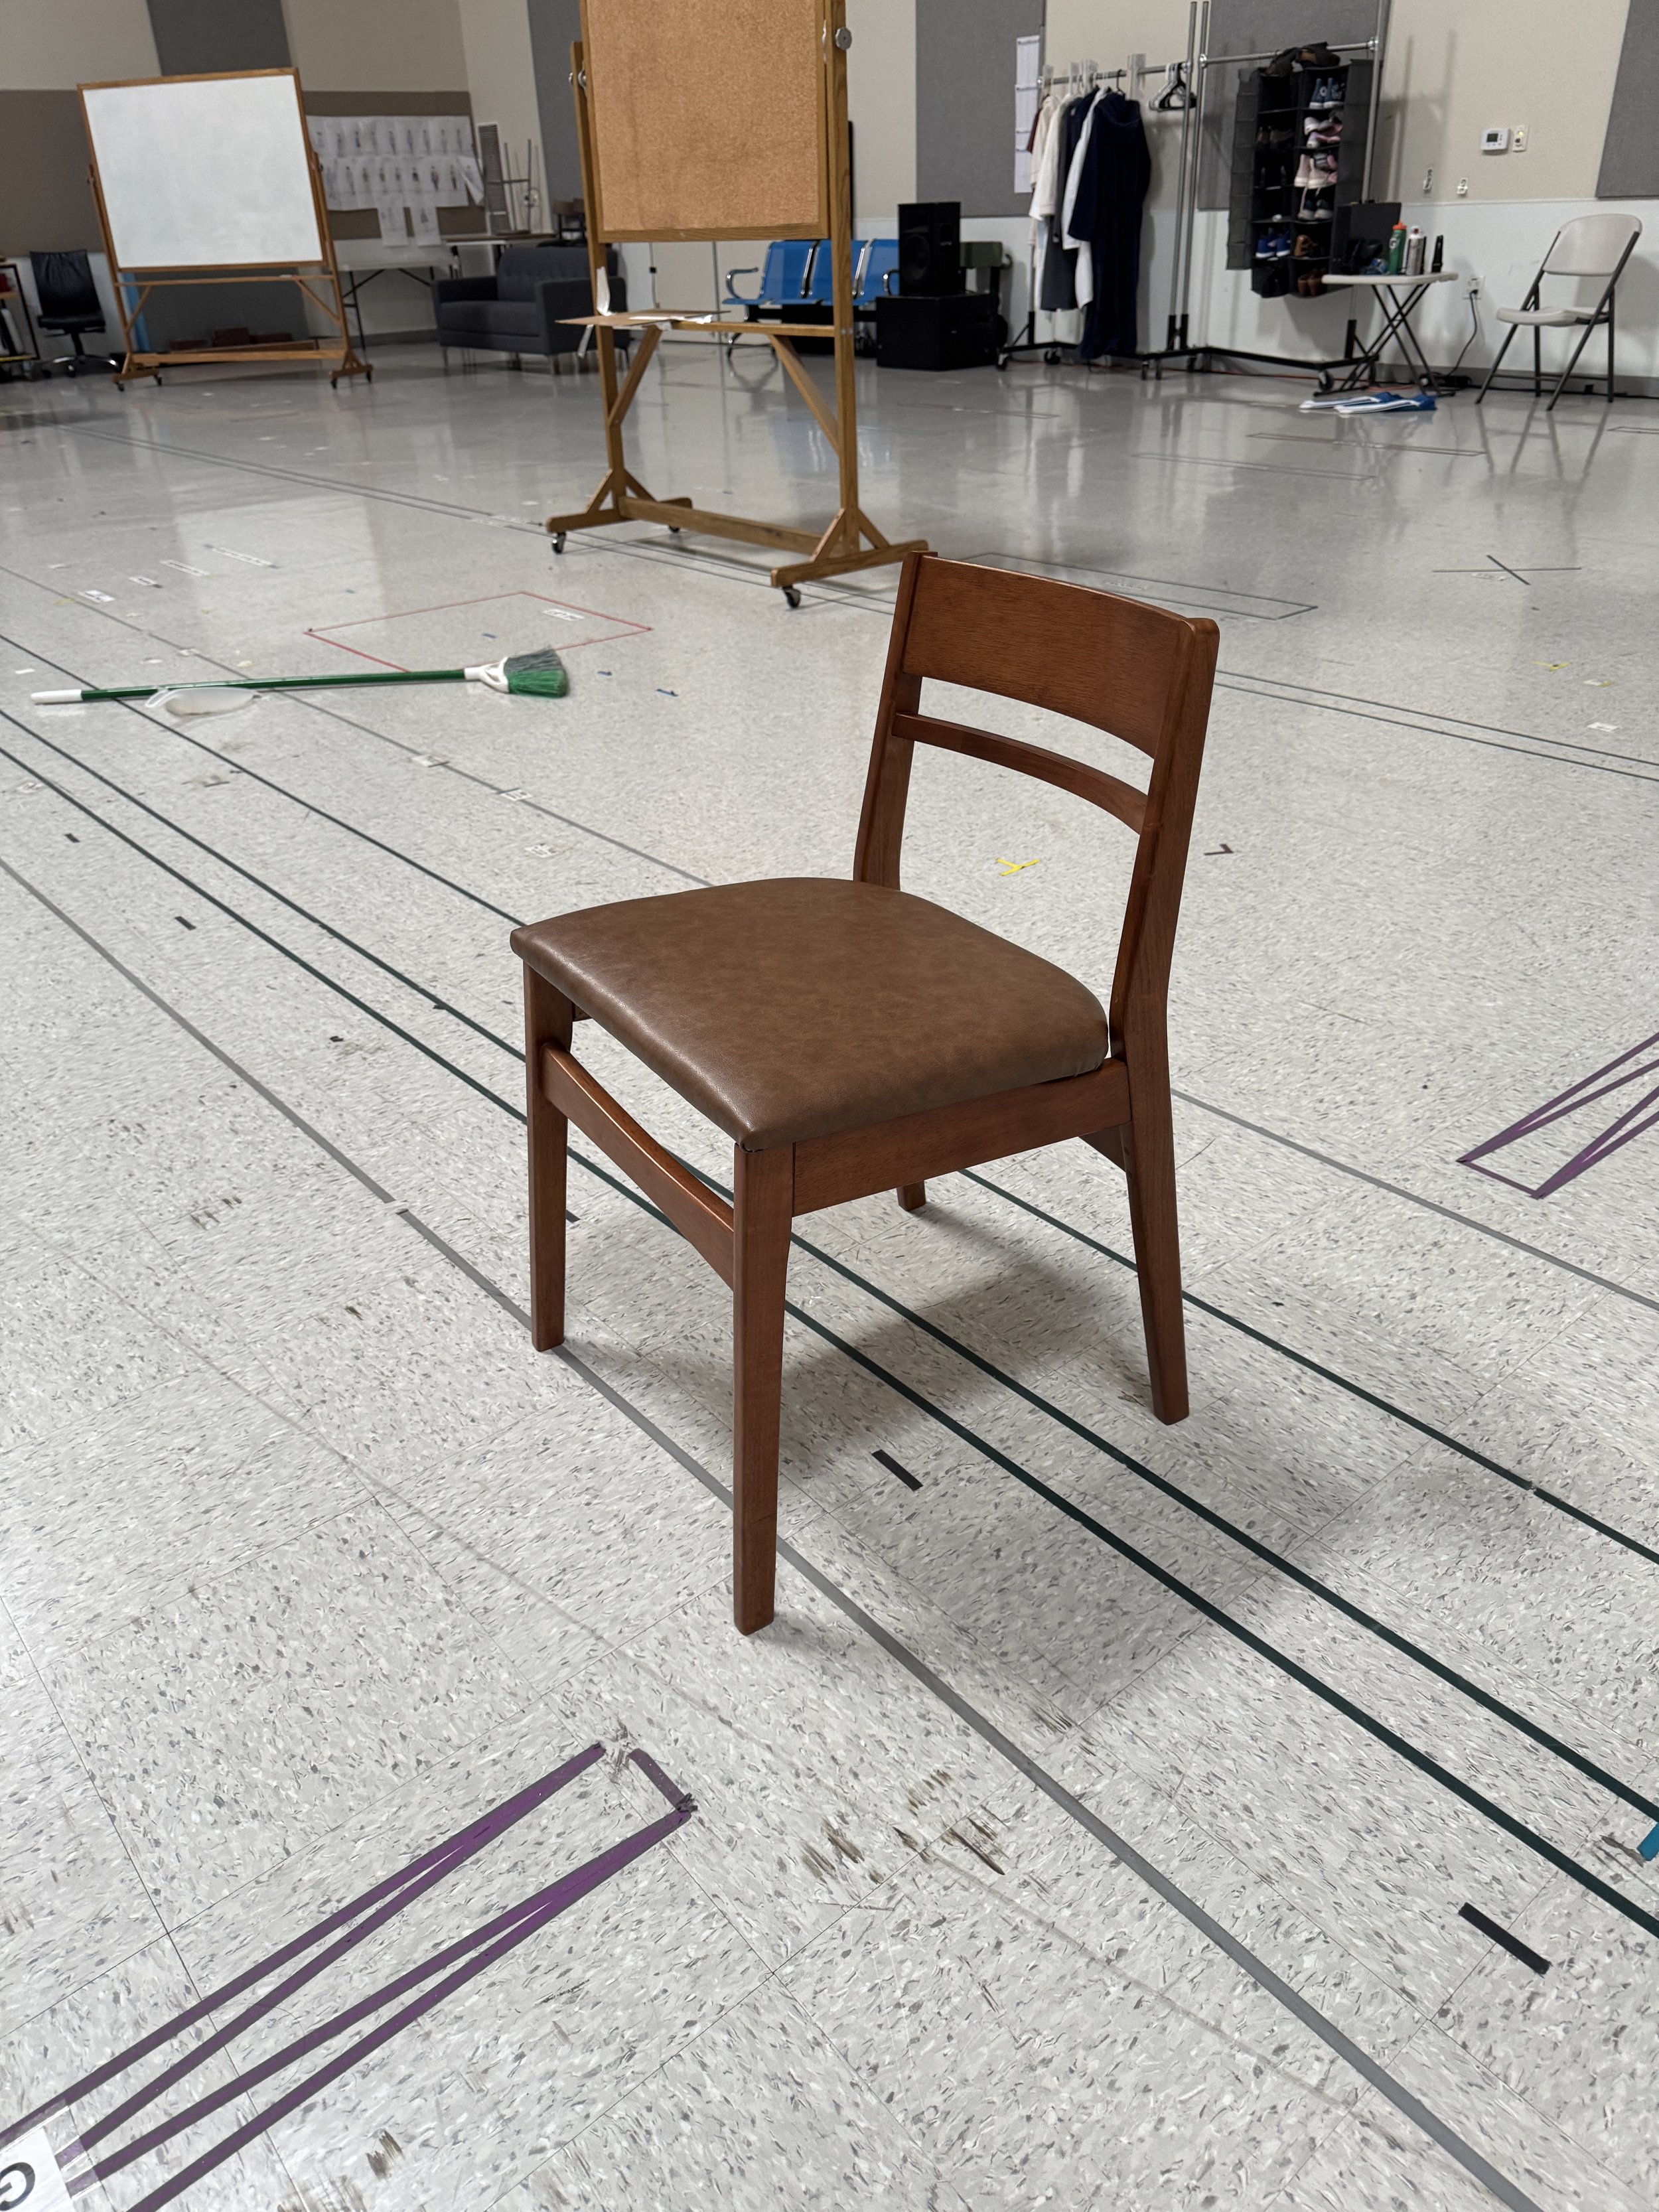
Chair Reupholstery - The Thing About Jellyfish
With Berkeley Repertory Theatre
Designed by: Derek McLane
For The Thing About Jellyfish, we were tasked with building new seats for chairs that we had purchased. The original, white seats (seen below) were not the right shape and color. We removed the seats, and built new bases out of plywood. I then used spray adhesive to attach a piece of foam, which I then cut down to a slope in the front. Next, I attached a layer of batting over the foam and wrapped it around the corners. After the batting, I added a layer of muslin, taking care to pull tightly and keep the corners on the underside as flat as possible using pleats where they were needed. The final layer was the brown vinyl, which required many pleats in the corners and a lot of pulling to remain taut all over. This was for sure the most difficult part. After attaching the vinyl, I steamed the corners to reduce the wrinkles that had formed. I then added a layer of cambric fabric to the bottom, and attached the seat to the chair.
Despite this piece being cut from the show, during a short period of downtime I was able to complete staining it later as a learning opportunity. Creating fake wood stain was another challenge. The goal was to create a real-looking wood stain that imitated a cherry red, that appears to bring out the natural colors of wood without covering up the real grain. I closely examined a stain sample to find the layers of color that make it so rich and complex. I mixed a 4 step imitation wood stain. Step 1 was a simple wash of dark brown paint and water, to deepen the natural grain. Step 2 was a brownish yellow, a mixture of low lustre sealer, some water, and yellow and brown paint. Step 3 was a deep red-brown, made up of mostly low lustre sealer and burnt sienna. Step 4 was a mixture of low lustre and gloss sealer, and van dyke brown.
The painting process was also challenging, as I worked out how to brush and wipe away paint to prevent it from looking too “brushy.” Painting evenly across such a long, wide surface was difficult, as was painting into the corners of the bench. I found that for the more watery layers, I could simply brush and wipe away, but for the last two, I needed to take extra care with long, even brush strokes, and to dry brush over it to reduce the visible brush strokes. This helped to make it look more like a real wood stain, and kept the original beautiful grain of the wood visible!


